How to Enable Administrator Account in Windows 11/10
The Administrator account is a built-in user account in the Windows operating system. By default, it is disabled, and cannot log in.
Enabling the Windows 11 Administrator account is a simple task. The following guide shows you how to activate the Administrator account using the Command prompt or GUI.
The following methods work on both Windows 10 and Windows 11 desktop operating systems.
Using Command Prompt (CMD or PowerShell)
We can enable the Administrator account from the Command Prompt by running one simple command. The command is Net User.
To activate the Administrator account, run the following command:
net user Administrator "new-admin-pass" /active:yesIn the above command, replace the new-admin-pass with the password you want to use.

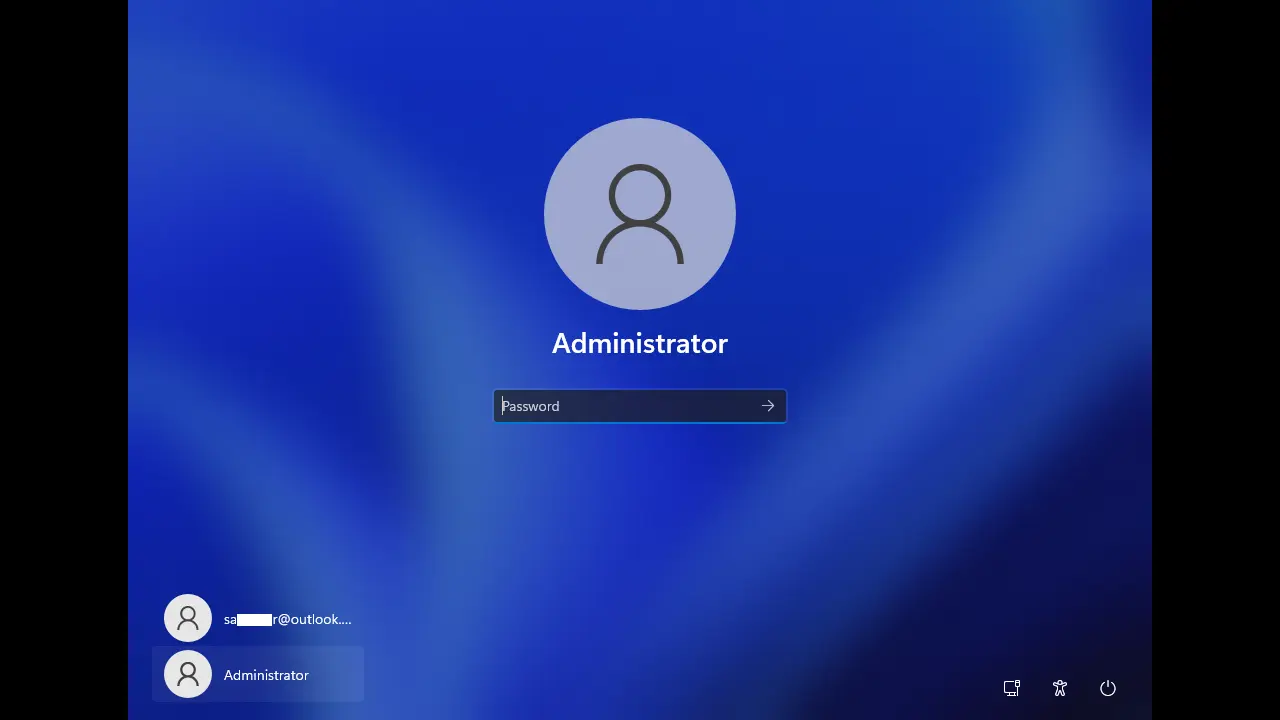
And that is all we need to do. The Administrator account will appear on the login screen, as shown in the following screenshot.
If you want to disable the Administrator account, run the following command:
net user Administrator /active:noNote that you need to open the Command Prompt as Admin to execute the two previous commands.
How to Open Command Prompt as Administrator on WindowsUsing the GUI
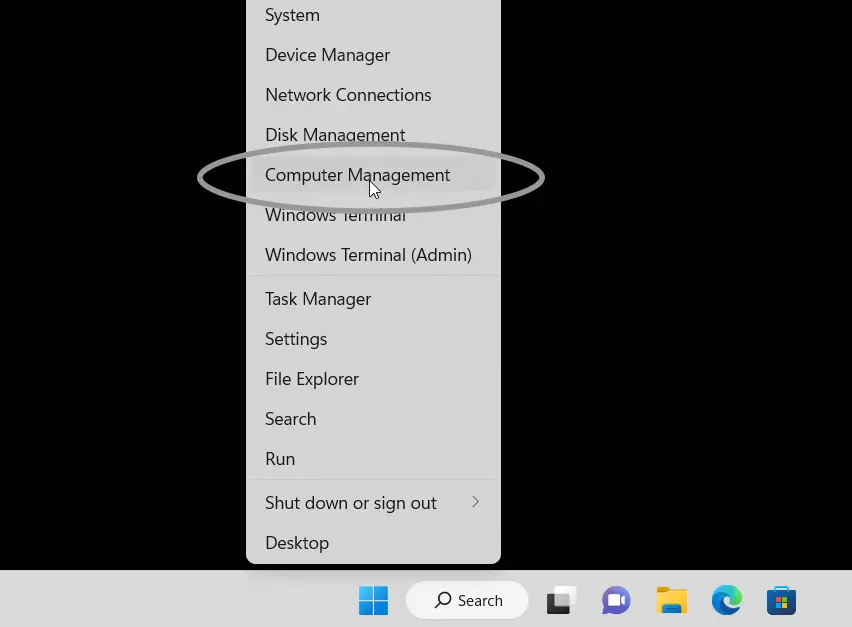
You can also activate the built-in Administrator account using the GUI. On your Windows PC, right-click the start button, and select Computer Management from the menu that appears.
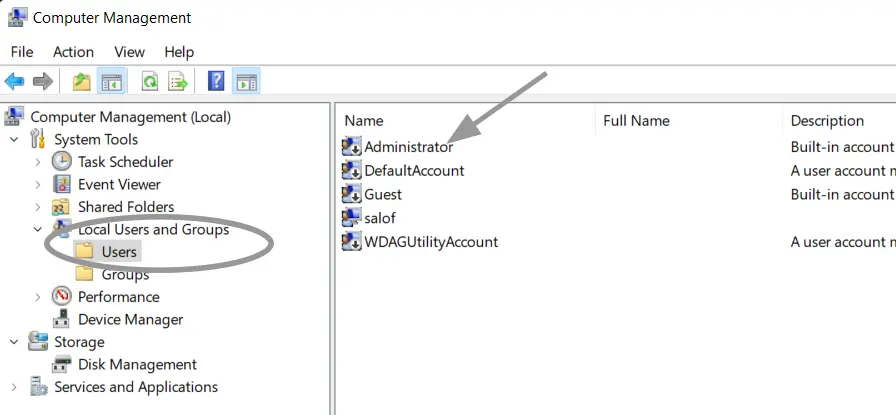
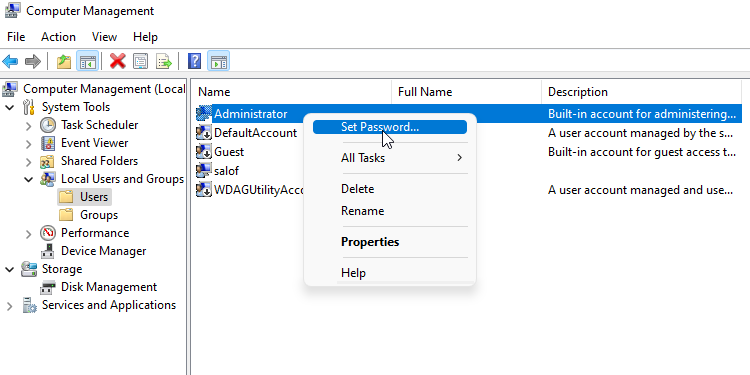
In the Computer Management console, double-click Local Users and Groups and click Users. In the right pane, you will see the Administrator account.
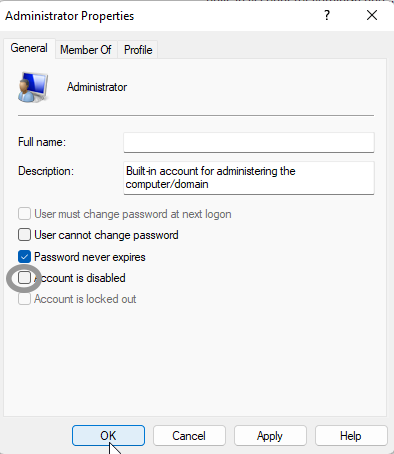
To activate the account, right-click the Administrator, choose properties, and deactivate the "Account is disabled" checkbox.
Next, right-click the Administrator and choose Set Password to create a Password.
And this is the end of this tutorial. As you can see, using CMD or PowerShell to enable the Administrator account is the fastest and easiest way to do it.