How To Increase Sleep Time in Windows 11
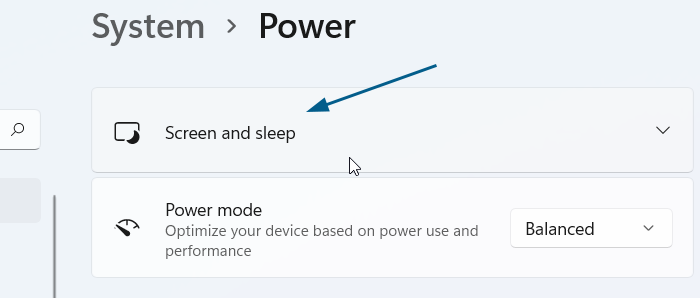
To increase sleep time in Windows 11, On Settings (Windows key+I), click System and then choose Power.

Click Screen and sleep.
On the Screen and sleep, click the put my device to sleep after drop-down menu and select the time you want.
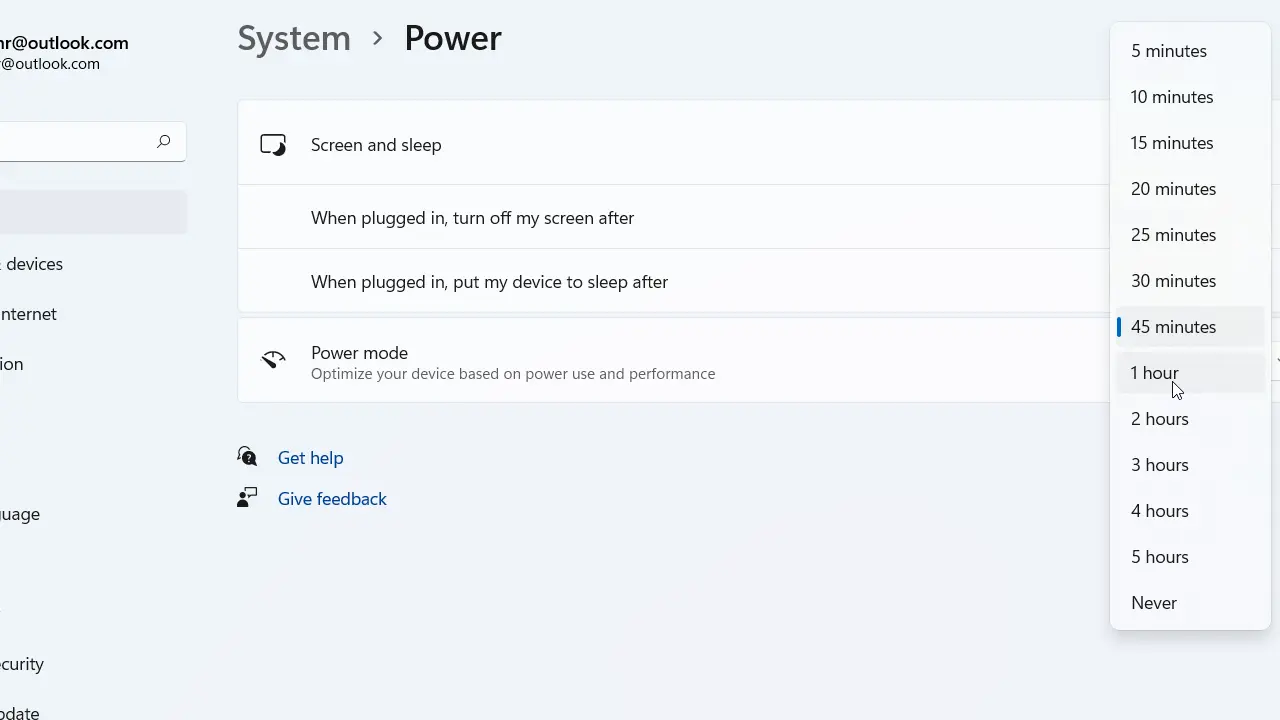
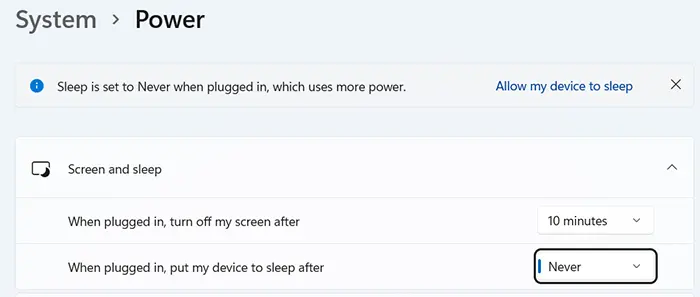
On a Windows 11 laptop, you will see two different drop-down menus for battery mode and plugged-in mode.
If you select Never, Windows will stop the computer from going to sleep.
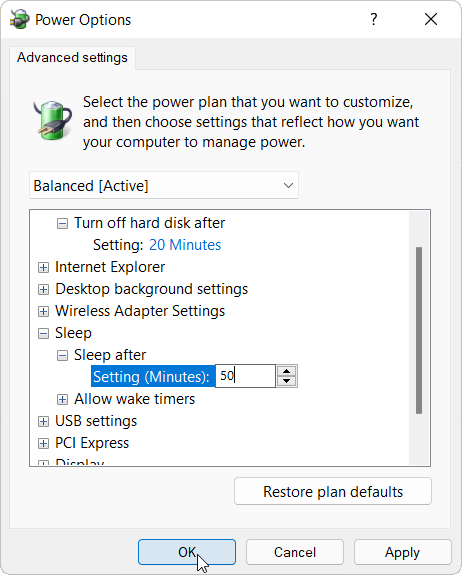
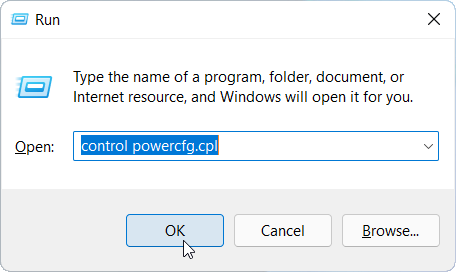
If you want to set a time value that is not available in the drop-down, press the Windows key + R to start the Run dialog box. When the Run dialog box appears, type control powercfg.cpl in the textbox and then click OK.
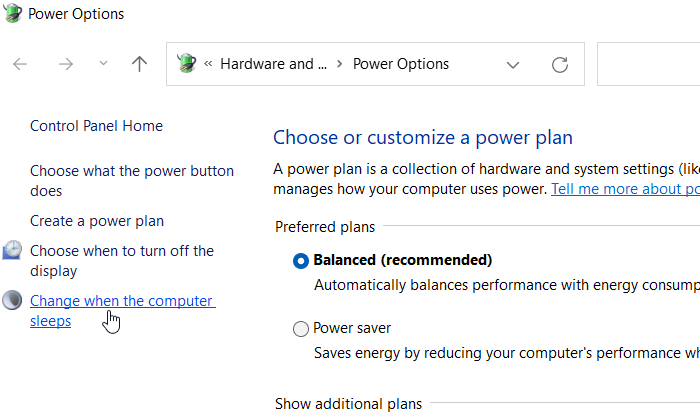
The Power Options panel appears. Click Change when the computer sleeps.
In the next screen, click Change advanced power settings.
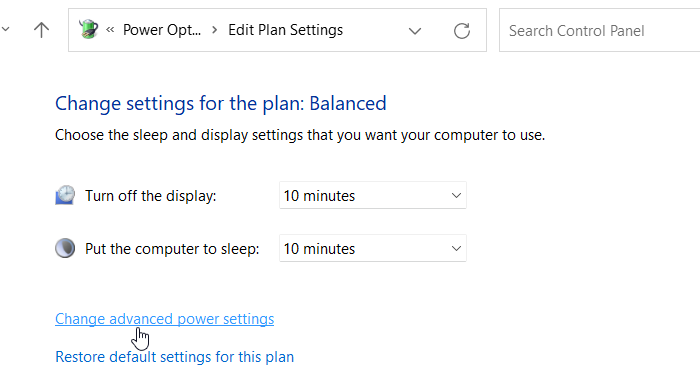
This opens the Advanced power settings window, where you can enter the sleep time.