How to Install Chocolatey on Windows 11
Chocolatey is a package manager for Windows, similar to the apt package manager on Ubuntu. With chocolatey, you get easy access to packages that are otherwise difficult to install on Windows.
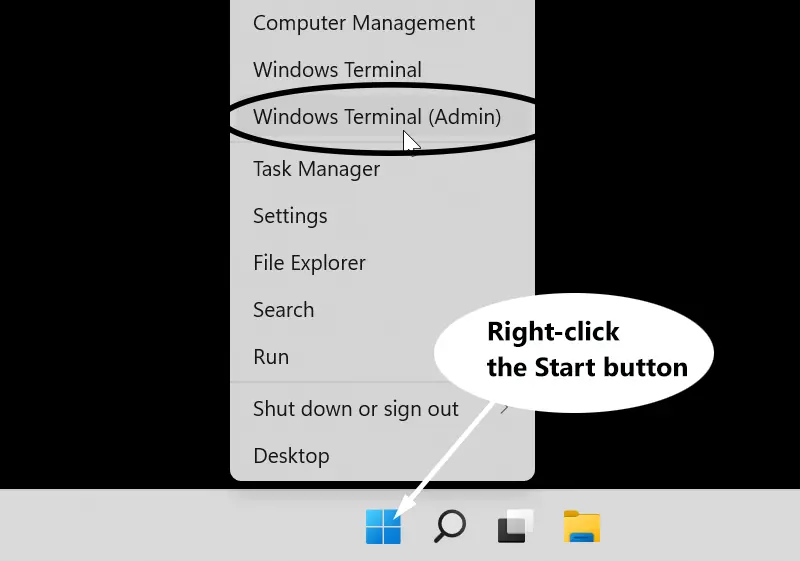
To start installing chocolatey, open a PowerShell console: Right-click the Start button and then choose Windows Terminal (Admin) from the menu that appears. Windows PowerShell (Admin) if you are on Windows 10.

On the PowerShell console, run the following command:
Set-ExecutionPolicy Bypass -Scope Process -Force; [System.Net.ServicePointManager]::SecurityProtocol = [System.Net.ServicePointManager]::SecurityProtocol -bor 3072; iex ((New-Object System.Net.WebClient).DownloadString('https://chocolatey.org/install.ps1'))Now restart your computer. You can use Restart-Computer PowerShell Command to restart Windows.
After the restart, you can check to ensure that the installation was successful by running this command:
choco -vThe command checks the chocolatey version installed on your computer.

Using choco command
Choco is the command-line tool we use to interact with the chocolatey package manager.
To install a new package, we use the choco install command. For example, to install Git on Windows 11, you will run the choco command as follows:
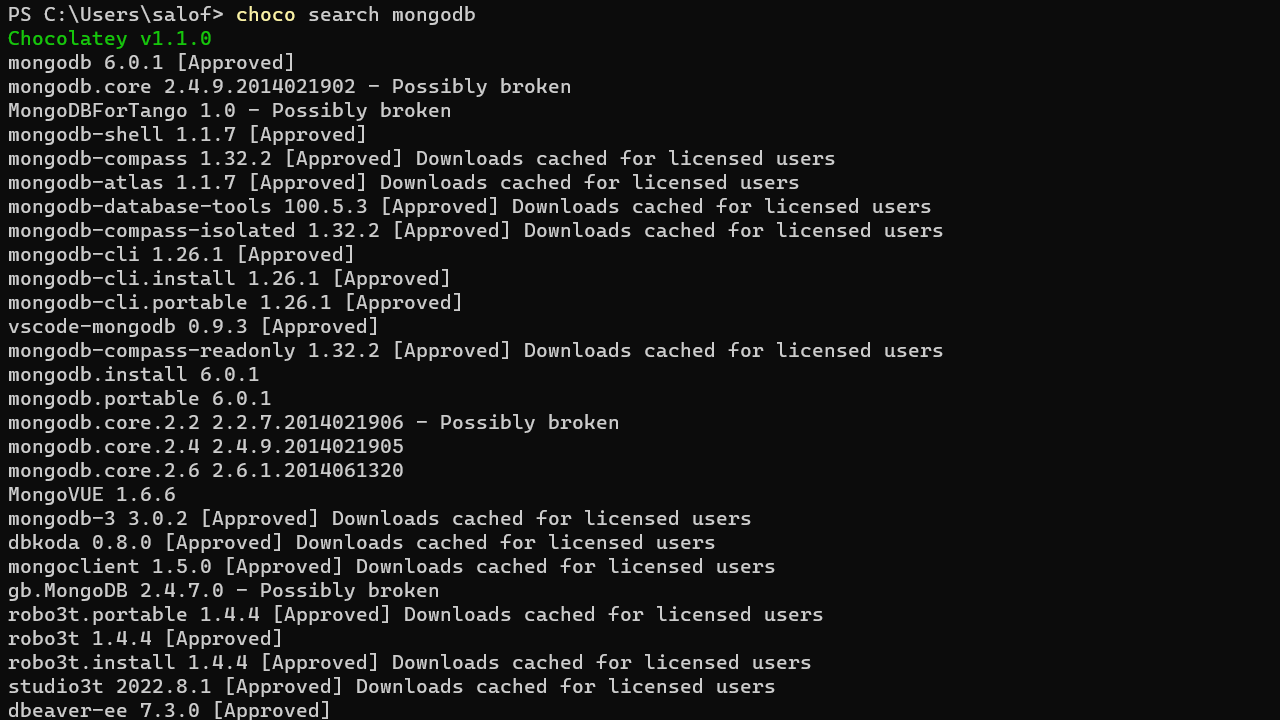
choco install -y gitUse the choco search command to find packages by keywords. For example, choco search mongodb will show all packages related to MongoDB.

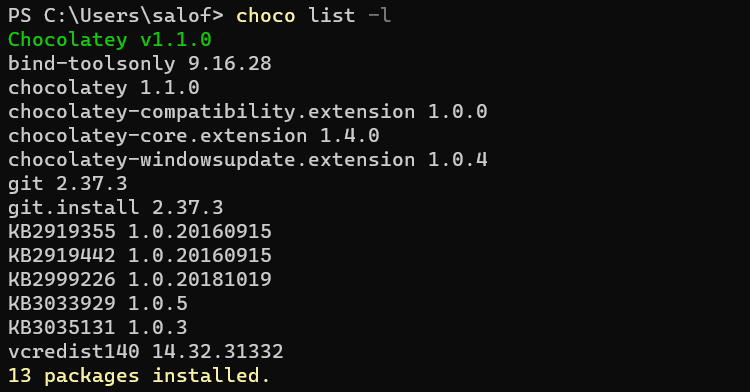
To list installed packages on your Windows machine, run the following command:
choco list -l
Run choco -h find all information about this command.