How To Turn Off Firewall in Windows 11
Do you want to turn off the firewall on your Windows 11 PC? If you do, use the following guide to turn the Windows Defender Firewall on or off.
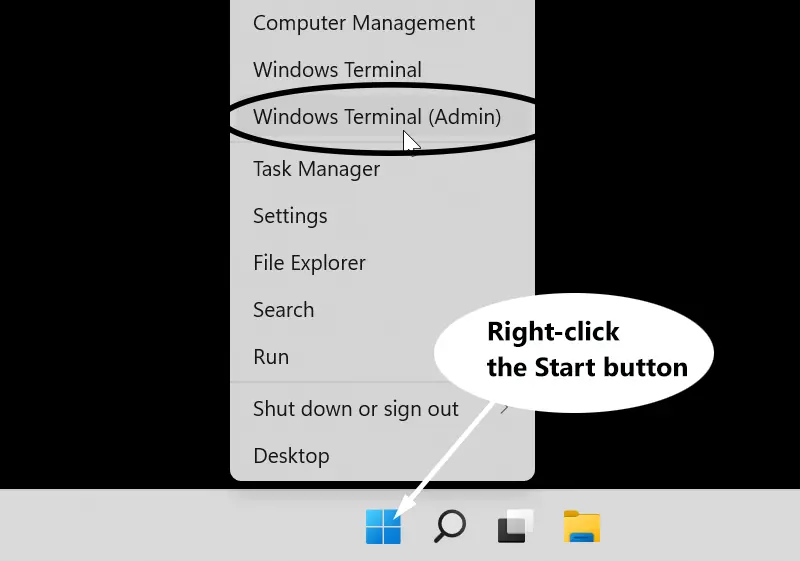
To get started, right-click the Start button and then choose Windows Terminal (Admin) from the menu that appears. Windows PowerShell (Admin) if you are on Windows 10.

Now execute the following command:
netsh advfirewall set allprofile state offIt is as simple as that! The Firewall on Windows 11 is now disabled.

To Turn on the Firewall again, run the following command:
netsh advfirewall set allprofile state onThe following command will show the current status of the Firewall:
netsh advfirewall show allprofilesUsing Control Panel
Complete the following steps to disable the Firewall in your Windows 11/10 computer using the Control Panel.
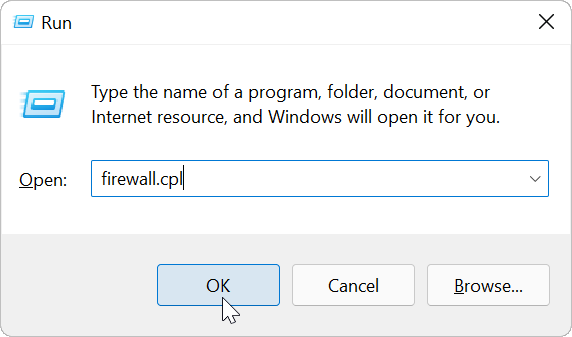
Press the Windows key + R to start the Run dialog box. When the Run dialog box appears, type firewall.cpl and click OK.

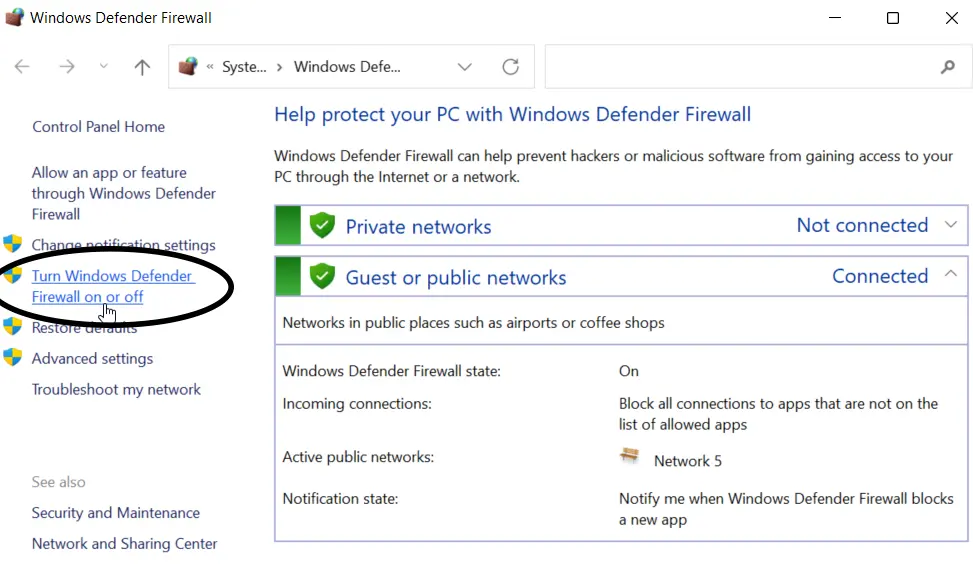
You will see a window similar to that shown in the following image:

Now, click Turn Windows Defender Firewall on or off from the left navigation menu.

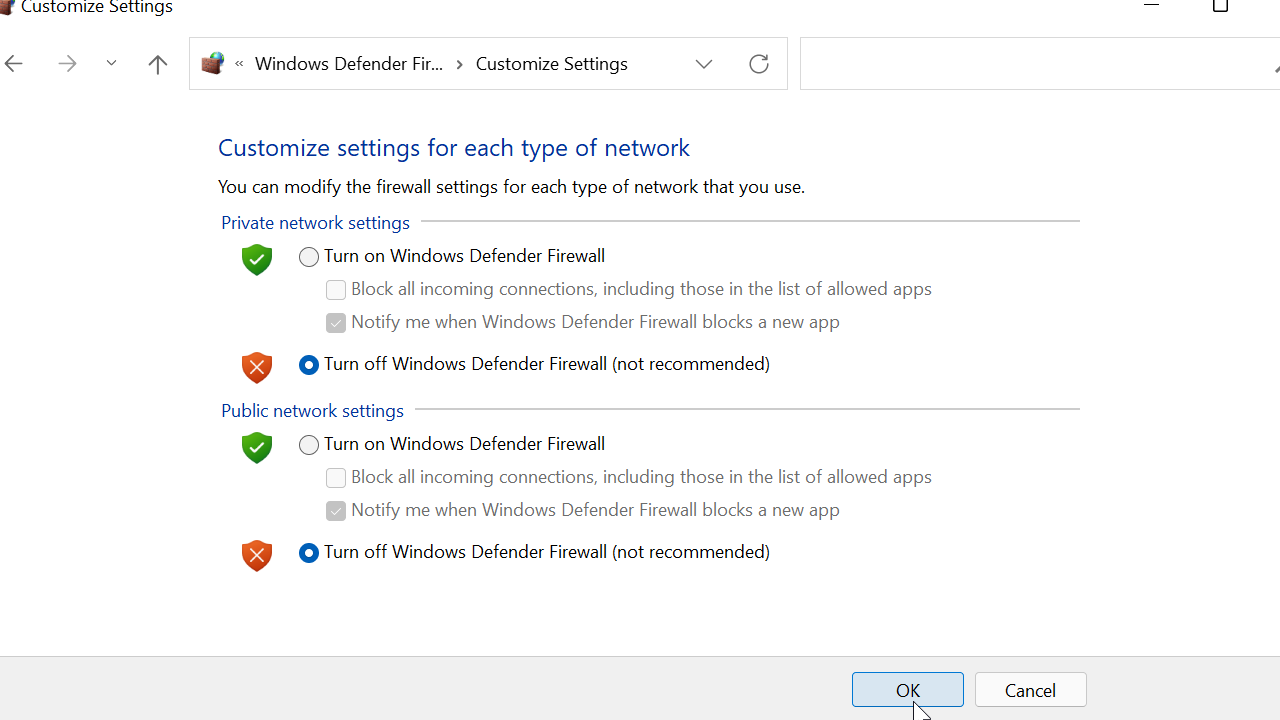
Next, switch to the Turn off Windows Defender Firewall radio button under each network profile and click Ok.
The Firewall is a crucial component in protecting your Windows computer from external attacks and malicious programs. Therefore, you should not disable the Firewall without a good reason.